Tuesday 18 April 2017

How to fit coilovers to a Porsche 944 pre 1985

So I got some new coilovers for my 1983 Porsche 944 and figured that it would be useful to write a guide on how to stick them on the car, so here we go! The coilovers I chose were the Spax RSX124. These offer damping adjustment on the shocks and height adjustment on the front. I mostly chose these for the price and also I've had the pleasure of a passenger lap around Bedford Autodrome in a 924S fitted with the same suspension. So let's start with the rears. The rears on this kit are just the shocks/dampers and utilise the existing torsion bars of the stock suspension. First up, jack up the rear of the car and support it using axle stands (Jack stands for those across the pond). Once under the car you'll be able to see the existing shocks and the bottom bolt that holds them in place. Remove the nut from these bolts (17mm if I remember correctly). As this is a simple bolt that goes through you will need a spanner on the other end to hold the bolt still. Depending on the condition of your existing shocks you may be able to remove the bolt now. I had to jack up the lower arm by placing a block of wood on the front edge of the lower "cup" and lift it slightly to relieve the pressure. Next up do the same for the top bolt nut, this is found inside the wheel arch and removing the wheel will make your life easier at this point. Remove the top bolt and lower the arm if you had to lift it with a jack and you should be able to wiggle the strut free. Once out compare the mounting points of the new strut to the old ones. The Spax kit comes with different spacers which will allow you to match the width of the new strut to the old one. I had to switch the lower spacer for the wider ones in order to get things to match up. Fitting is the reverse of removal as they say. While the arm is lowered get the strut into place and insert the top bolt and nut to keep it suspended. Again lift the arm with a jack and get the holes aligned before inserted the lower bolt and fitting the nut. You should now have something that looks like this.
 Quite the difference from my old items from 1983.
 Now onto the fronts. If you are re-using your existing top mounts it's easier to slacken the top nut whilst it's on the car instead of fighting against a shock on a bench. From memory you'll need a 7mm hex in order to hold the shaft of the shock still. After some hunting I found I had a load of 6mm, and another load of 8mm hex tools but the only 7mm was part of a screwdriver set. I attached this to a small ratchet which did the trick. For the main nut you'll need either a deep socket with an open side to get the tool in or a deep spanner like I used. I got a bit lucky with this and had an old imperial socket that was just the right size.
 For this part You only need to loosen the nut a bit to make your life easier later. It's also worth loosening the four nuts that hold the top mount in place which are just 10mm nuts. It's worth using plenty of penetrating fluid at this point, especially if everything is as rusty as on my car. A small but important step is to pull the brake hose free from the bracket on the shock.
Next part is to remove the bolts that attach the strut to the hub. It is important with the top bolt to make sure you turn the nut and not the bolt as they are eccentric and are used to adjust the camber. Loosen the lower bolt first to avoid damage. Again use plenty of penetrating fluid as these are likely rusty and pretty stubborn to remove. I had to remove the brake caliper in order to get decent access to the nuts.
Once the bolts are removed you can remove the four bolts holding the top mount to the chassis. Hold onto the strut as you do this to avoid it from dropping down and causing damage. Next you'll need some spring compressors to compress the spring and allow you to remove the nut attaching the top mount to the shock absorber.
 Once you have the top mount removed you can prepare to mount it onto your new coilovers. It is important to get everything in the correct order which should be listed in the instructions. With my kit the order is, helper spring added first, then the rubber plate, then the main spring, then the top plate, then the "washer", then the Porsche top mount goes on top. It's easiest to lower the spring to its lowest position at this point as you will need to push down on the top mount enough to get the new nut threaded onto the shaft of the new shock. Once threadead on enough there is a standard hex on the top of this strut that will allow you to use a socket or spanner to hold the shaft in place while you tighten up the nut. Once tightened down you are ready to refit! Again refitting is pretty much the reverse. Start with sliding the top mount up into the bodywork and attaching the four nuts. Returning back to the base of the strut you can then slide the hub back into the slot and add the lower bolt, then add the top eccentric bolt which gives the camber adjustment. Tighten everything down and make your best judgement on the camber setting, it's going to be out and you'll need to get the camber checked afterwards so just enough to get the car to get checked out. You should now have something like this
Tweak the height until you have something you are happy with and once the camber is checked you can start tweaking the damping to suit your needs. Hopefully this guide is helpful and enjoy your new suspension!

Wednesday 7 September 2011

Engine overhaul and refitting

Apologies for once again letting this blog fall out of date. Progress on the car has been plodding along slowly with the usual matter of lack of funds stopping progress from being too quick.

Since last posting quite a lot has happened, the rear axle assembly has been removed, cleaned up, painted and the mounting points cleared of surface rust and given treatment to keep things nice and healthy. Once this was all re-attached the engine was removed due to an oil blockage where the air/oil separator drains into the sump leaving the canister filled with oil and being sucked up by the breather hose leaving oil all over the throttle body and ending up in the airbox.

The pictures aren't terribly thorough at this point as it's work that generally requires having oil and dirty absolutely everywhere from an engine that had turned black from dirt and oil both inside and out! Whilst the engine was out I discovered that there were a few leaks around the engine from oil seals for the cam, crank and balance shafts so new seals and top hats were ordered for all and everything was resealed and rebuilt.

Signs of oil leaking from lower balance shaft seal


Rear balance shaft seal having seen better days

New oil cooler, water pump and shaft seals

New rear main seal fitted

Engine after new seals, rear timing belt cover, sump gasket refitted and blockage removed. Also note the new coolant rail replacing the old corroded item.

New belts and rollers were also fitted. Water pump was deemed to be good to use until next belt replacement.


While the engine was out I discovered that the clutch was of the old 'rubber donut' style and also had little friction material left so this was replaced with a new (although bloody expensive) spring design unit and pressure plate. The clutch release lever bearings were also replaced at this point to ensure a smooth clutch operation.

New engine mounts were also sourced to replace the original tired items which were starting to crack. New on the left, original on the right.


All that (and a few other bits here and there) and we have a complete and much shinier engine once again!
All of that took quite a while as the seals, rear suspension bushes & mounts, timing/balance shaft belts and clutch all cost a considerable amount, as in hovering dangerously close to £1000! Just as well I do it for the love not the money and this car's going to be a keeper.

Once the engine was back in the car I noticed an earthing point was in the wrong place when I got the car, it was instead mounted where the reference sensors should attach to a bracket which was missing. The earth was moved to the correct place and the bracket was sourced from the ever helpful Marc at Porsche Exeter. When the engine was out I had my doubts about the state of the crank sensor which was threatening to fall apart whilst I set the spacing of the bracket against the flywheel, my doubts were confirmed upon starting to crank the engine where I ended up with no spark whatsoever. Enter the spare 944S which lives outside rusting away with half a missing conrod!

Earthing point in the correct place

Dead crank sensor falling apart at the plug

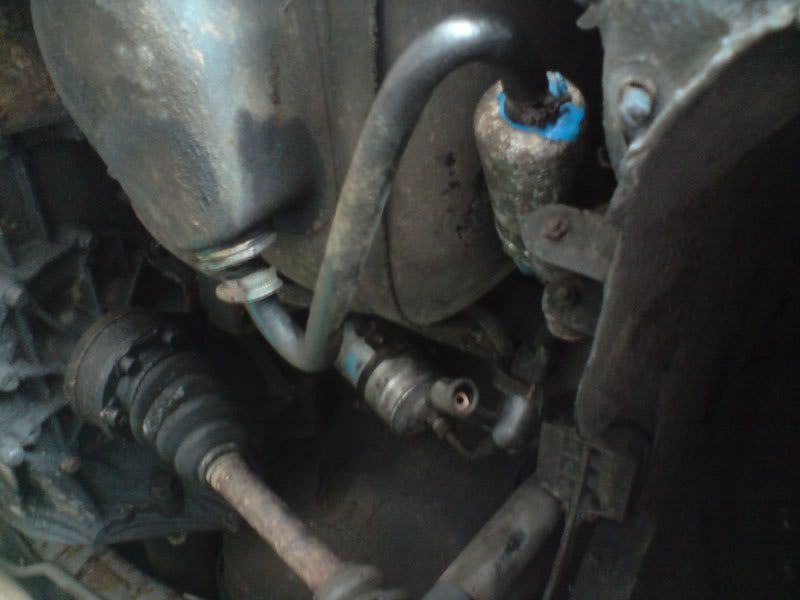
A lot of dismanting, swearing and grazed knuckled and the crank sensor was liberated from the stubborn 16v motor and placed into the accessible 8v (the only time this engine will be called accessible!). After remembering to charge the battery from being a fool and forgetting to do it earlier we had a running 944 again. All seemed to be running rather well, no smoke, getting up to temp, fans kicking in and very little smoke from the exhaust apart from 1 thing. Turns out during all the spinning around, dismantling and being knocked around the oil pressure sensor has given up leaving the needle pinned to 5bar, I may be able to take this from the other car yet but I will have to check.

Rembering the battery was dead

There was one more problem I discovered after turning the engine off but I will leave that for the next post.

P.S. Almost forgot to say, the other reason why I forgot to update for so long featured a temporary project of a cheap Toyota MR2, a little bit of fettling and a whole lot of fun during the spring and early summer.

Friday 10 September 2010

Bit of a tidy up

Whilst waiting to be able to afford more parts on the car I took to giving things a general tidy up around the car.
First was to sort out the connections to the Horn. This in combination with a new set of wiper/indicator stalks has now resulted in a working horn and also working windscreen wipers.

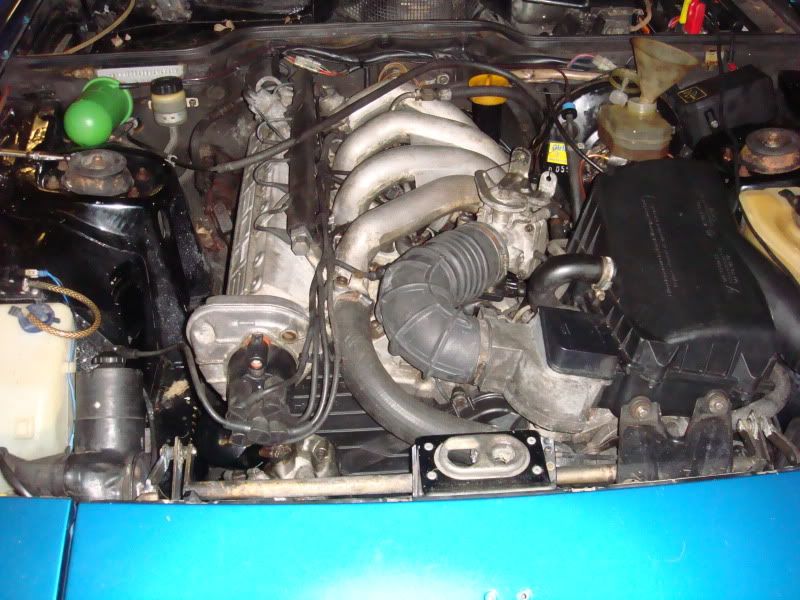
cleaned up the engine under the air box as it was a bit filthy from a previous oil leak

I also set to work on the coolant bottle which was bothering me. It was so filthy that it was impossible to see the level of the coolant.
Before:
Years worth of crud had built up on the inside of the bottle so a quick search on the web suggested that denture cleaning tablets should sort it out. I chucked a few tablets in, filled with hot water and left it for a few hours and ended up with not much change to be honest. Next step was to chuck a dishwasher tablet in with the denture cleaner and also a bit of bleach for good measure. Again not a lot happened from that but it was improving slightly so I was given the suggestion of putting uncooked rice in and shake the whole thing about and oddly enough this did the trick! The rice was acting as an abrasive and removing the crud that had been softened by the previous treatment and left me with the following.


Not quite as good as a new bottle but much much cheaper.

Thursday 9 September 2010

New brake lines and freezing fingers

During the winter I continued running the car every so often to help the engine sort itself out a bit and with time it was getting much much smoother and generally happier.

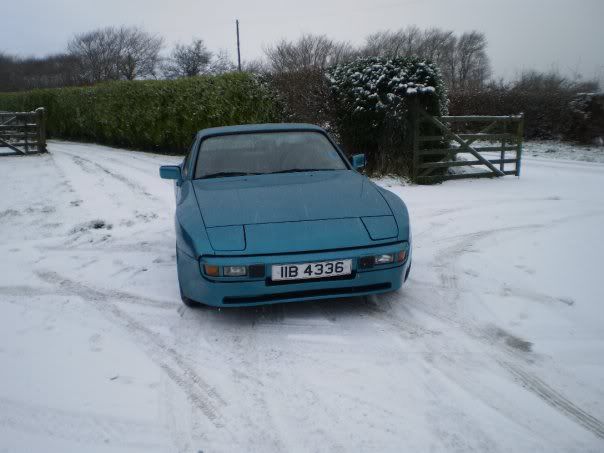
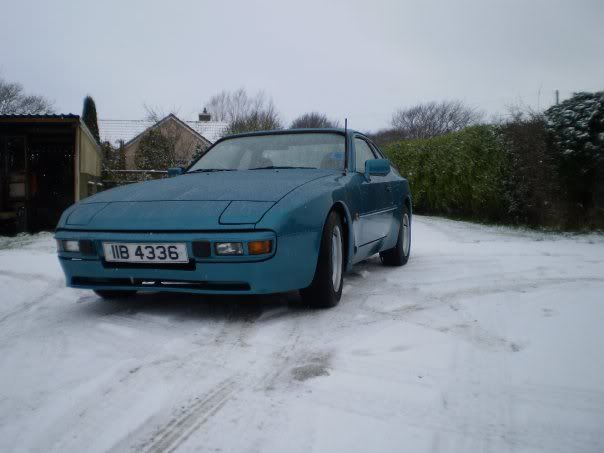
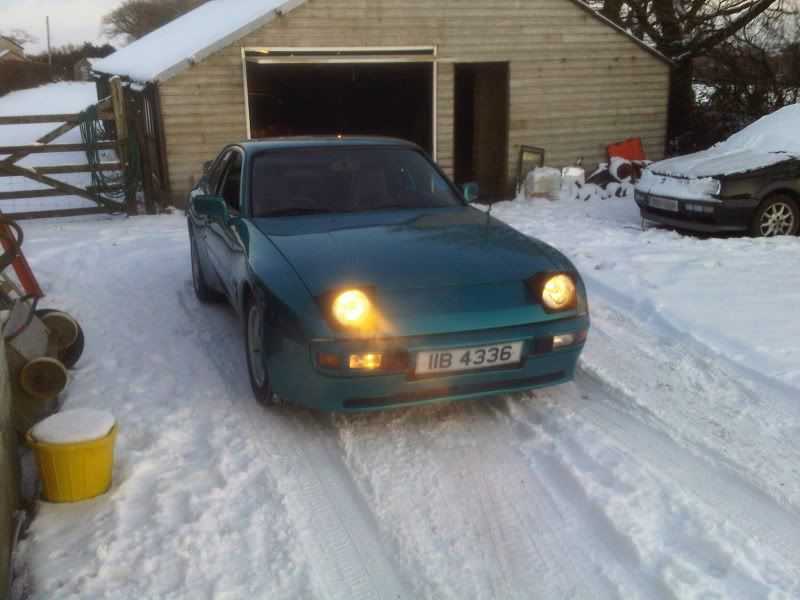
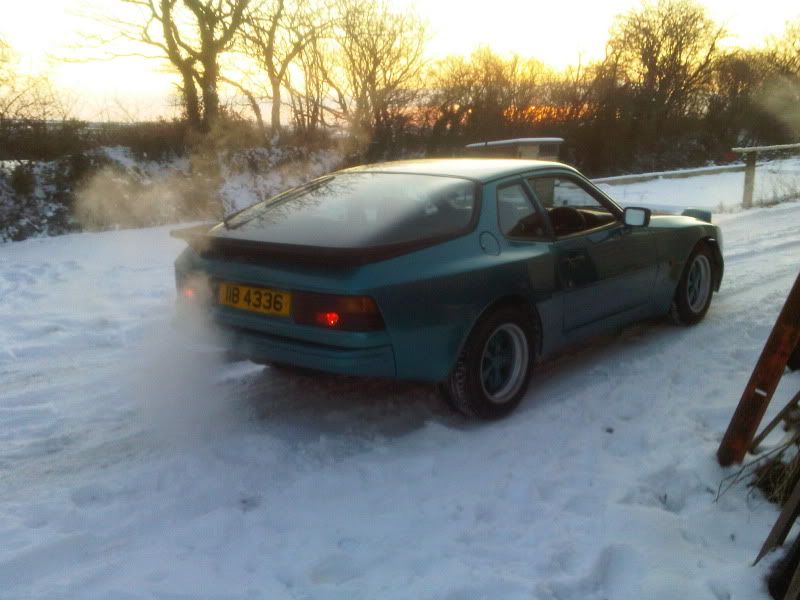
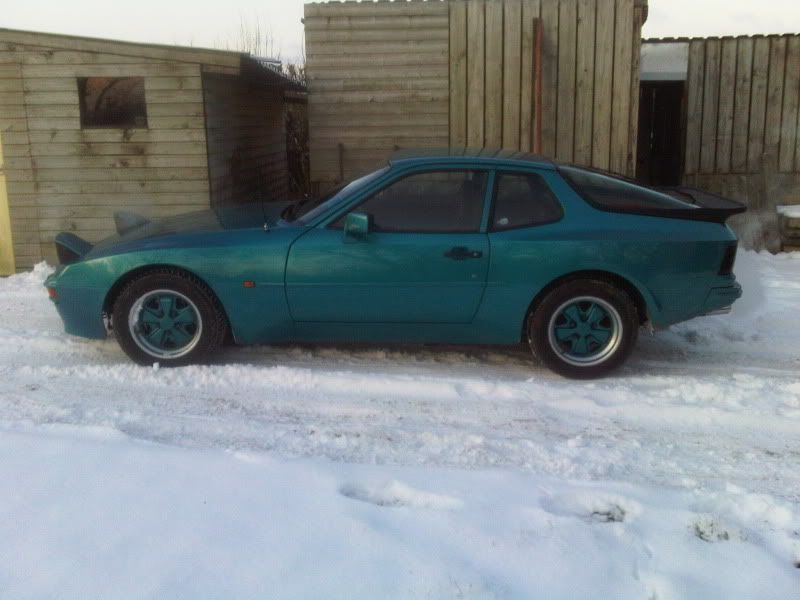
Here it is having more grip in the snow than my sensible car.

Photobucket
Photobucket
Photobucket
Photobucket
Photobucket
Photobucket

The mist hovering around the front of the car is because during taking the pictures the coolant hose that connects to the rail above the exhaust manifold had worked loose and was spraying coolant out (luckily slowly).

After having a bit of a play in the snow it was time to get back to work and fit the new brake lines. This is a particularly fiddly job that can only be improved by doing it in the middle of winter when you can barely feel your fingers. Some of the original pipes were so corroded that they snapped whilst being removed so I'm glad to have them done.

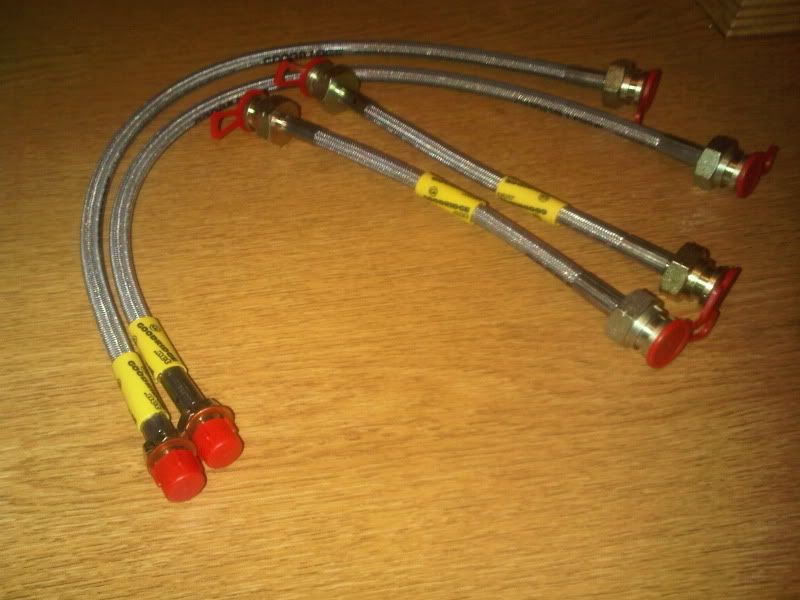
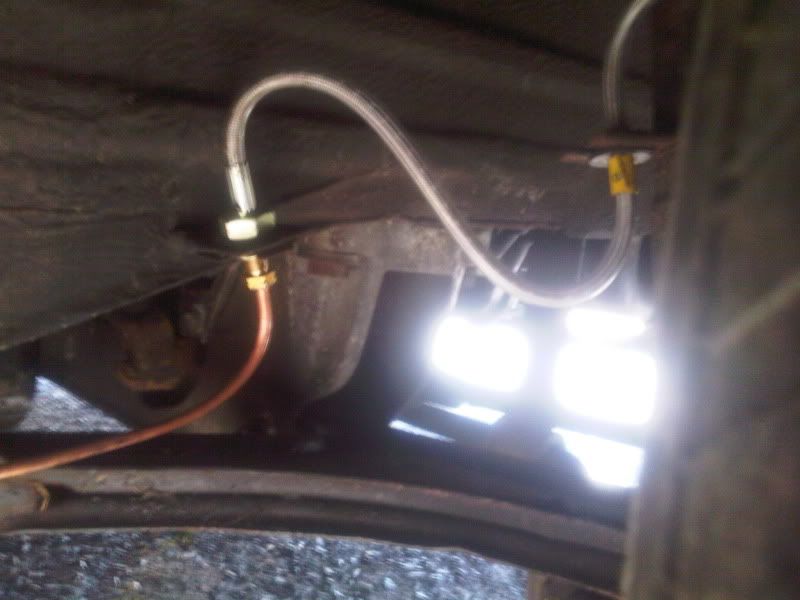
Whilst I was replacing the metal lines I took the opportunity to upgrade the rubber hoses to Goodridge braided items and now I'm pleased to say the brake feel is pretty good.

Here are the Goodridge hoses ready to go on and fitted

PhotobucketPhotobucket

Freeing up the brakes

At this point I was fed up of how hard it was to move the car about (engine was still not running at this point) so I decided it was time to strip the brakes down and see what kind of state they were in. The calipers on the 944 are a floating caliper affair with a single piston (same as the 928 I believe). Once the frame is split into two the piston housing can be knocked off of the frame to leave you with three pieces.

On my poor aging brakes the dust cover on pretty much every caliper was split which had caused all sorts of dirt and water to get in and which had in turn done a pretty good job of stopping the pistons from sliding in and out smoothly. These pictures should do a pretty good job of explaining why they were stuck.

Photobucket
Photobucket
Photobucket

As you can see from the above pictures rust had formed at the bottom of the piston housing and had also caused a bit of pitting on the piston itself which meant this one was fit for the bin. The following pictures are of the same caliper after a cleanup.

Photobucket
Photobucket

Despite being so damaged the other calipers were pretty servicable after a strip down and rebuild and once put back on the car it moved nice and freely instead of being similar to trying to push a lorry uphill. At this point they were rebuilt with the old seals and dust covers whilst a second set of calipers were sourced so I could create one good set with new seals out of the two sets I had. Now all four wheels have rebuilt calipers with fresh seals and fresh dust covers.

Firing up the beast...

...or not.

In preparation in trying to get the old girl started the old fuel was drained from the system (25 litres of foul smelling old petrol), some fresh stuff put in, belts checked for wear, spark plugs removed to make sure there's nothing resting in the cylinders that will mess things up when turned over and a quick check over to make sure everything was connected.

After all the prep I jumped in the car and turned the key........*click*............not quite the exciting response I was after. Turned out the starter motor solenoid had given up (hardly surprising) so a freshly rebuilt one was obtained and fitted. Jumped back in and turned the key........*click*.......again hardly exciting stuff. After a bit of research I managed to jump the starter motor as there was an issue somewhere (which later turned out to be a dead immobiliser) and the engine turned over spitting any rubbish out of the spark plug ports.

With the plugs back in the key was turned again and the starter wire bridged and the engine turned over and over......and over.......and over.............and over. Managed to trace the fault down to a dead fuel pump this time, the list of faults just grows and grows!

Photobucket

A while after this I managed to open up the fuel pump and removed the tiniest pieces of debris that had caused the pump mechanism to completely seize and the engine fired up. There was quite a lot of smoke and it was pretty lumpy but that was to be expected after such a long layup. After running for a while longer the smoke started to die down a bit (although not completely) and the running improved as the injectors started to ease up a bit. the engine is now running pretty well but could still use some new ignition leads to replace the ancient cracked original items.

Interior clean up

So after collecting the car and cleaning up the outside it was time to move to the interior which was full of mould and generally covered in dirt.

After a lot of AutoGlym Interior Shampoo I ended up with this
Photobucket
Photobucket
Photobucket
Photobucket
Photobucket
Photobucket
Photobucket

The interior came up fairly well on camera but in reality it was still pretty filthy with the carpet varying wildly between beige and brown to black in places. Despite all this cleaning it really didn't help get rid of the musky smell but it did dull it somewhat.

After making it a bit more bearable to be inside it was time to investigate what worked and what didn't. Here's the list of things that weren't working:

Air con - No, half of the system is completely missing
Heater controls - Only one control was working and the fan was only working on 1&2 after replacing a fuse.
Horn - No
Dash lighting - Sort of
Clock - YES!
Electric windows - Yes for the driver's window and sort of for the passenger side
Electric mirrors - No

I think you get the idea, it was a bit shabby in there. The heater controls were not working due to the clips that hold the cables in place being missing and the part that they clip onto being broken, fan switch was faulty, horn wasn't working due to the wires being wrapped around the connectors instead of using spade connectors, dash lighting just needed new bulbs luckily. Air Con has so much of the system missing and even if it was there it would need a load of money spend on it upgrading to use modern refrigerant that it just wasn't work bothering about.

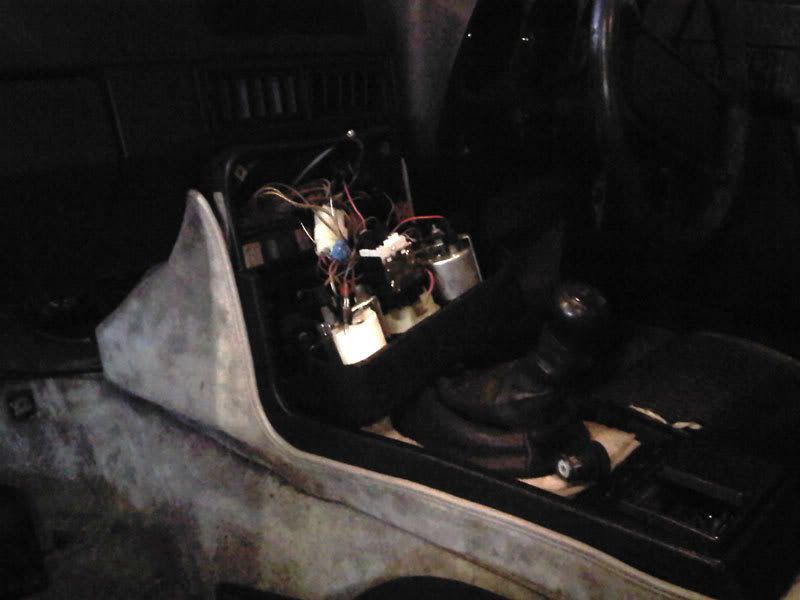
A bit of investigating behind the centre console revealed that half the dials here weren't working due to either not being connected or connected badly. A quick tidy up sorted most things up back here.

Photobucket