Friday 10 September 2010

Bit of a tidy up

Whilst waiting to be able to afford more parts on the car I took to giving things a general tidy up around the car.
First was to sort out the connections to the Horn. This in combination with a new set of wiper/indicator stalks has now resulted in a working horn and also working windscreen wipers.

cleaned up the engine under the air box as it was a bit filthy from a previous oil leak

I also set to work on the coolant bottle which was bothering me. It was so filthy that it was impossible to see the level of the coolant.
Before:
Years worth of crud had built up on the inside of the bottle so a quick search on the web suggested that denture cleaning tablets should sort it out. I chucked a few tablets in, filled with hot water and left it for a few hours and ended up with not much change to be honest. Next step was to chuck a dishwasher tablet in with the denture cleaner and also a bit of bleach for good measure. Again not a lot happened from that but it was improving slightly so I was given the suggestion of putting uncooked rice in and shake the whole thing about and oddly enough this did the trick! The rice was acting as an abrasive and removing the crud that had been softened by the previous treatment and left me with the following.


Not quite as good as a new bottle but much much cheaper.

Thursday 9 September 2010

New brake lines and freezing fingers

During the winter I continued running the car every so often to help the engine sort itself out a bit and with time it was getting much much smoother and generally happier.

Here it is having more grip in the snow than my sensible car.

Photobucket
Photobucket
Photobucket
Photobucket
Photobucket
Photobucket

The mist hovering around the front of the car is because during taking the pictures the coolant hose that connects to the rail above the exhaust manifold had worked loose and was spraying coolant out (luckily slowly).

After having a bit of a play in the snow it was time to get back to work and fit the new brake lines. This is a particularly fiddly job that can only be improved by doing it in the middle of winter when you can barely feel your fingers. Some of the original pipes were so corroded that they snapped whilst being removed so I'm glad to have them done.

Whilst I was replacing the metal lines I took the opportunity to upgrade the rubber hoses to Goodridge braided items and now I'm pleased to say the brake feel is pretty good.

Here are the Goodridge hoses ready to go on and fitted

PhotobucketPhotobucket

Freeing up the brakes

At this point I was fed up of how hard it was to move the car about (engine was still not running at this point) so I decided it was time to strip the brakes down and see what kind of state they were in. The calipers on the 944 are a floating caliper affair with a single piston (same as the 928 I believe). Once the frame is split into two the piston housing can be knocked off of the frame to leave you with three pieces.

On my poor aging brakes the dust cover on pretty much every caliper was split which had caused all sorts of dirt and water to get in and which had in turn done a pretty good job of stopping the pistons from sliding in and out smoothly. These pictures should do a pretty good job of explaining why they were stuck.

Photobucket
Photobucket
Photobucket

As you can see from the above pictures rust had formed at the bottom of the piston housing and had also caused a bit of pitting on the piston itself which meant this one was fit for the bin. The following pictures are of the same caliper after a cleanup.

Photobucket
Photobucket

Despite being so damaged the other calipers were pretty servicable after a strip down and rebuild and once put back on the car it moved nice and freely instead of being similar to trying to push a lorry uphill. At this point they were rebuilt with the old seals and dust covers whilst a second set of calipers were sourced so I could create one good set with new seals out of the two sets I had. Now all four wheels have rebuilt calipers with fresh seals and fresh dust covers.

Firing up the beast...

...or not.

In preparation in trying to get the old girl started the old fuel was drained from the system (25 litres of foul smelling old petrol), some fresh stuff put in, belts checked for wear, spark plugs removed to make sure there's nothing resting in the cylinders that will mess things up when turned over and a quick check over to make sure everything was connected.

After all the prep I jumped in the car and turned the key........*click*............not quite the exciting response I was after. Turned out the starter motor solenoid had given up (hardly surprising) so a freshly rebuilt one was obtained and fitted. Jumped back in and turned the key........*click*.......again hardly exciting stuff. After a bit of research I managed to jump the starter motor as there was an issue somewhere (which later turned out to be a dead immobiliser) and the engine turned over spitting any rubbish out of the spark plug ports.

With the plugs back in the key was turned again and the starter wire bridged and the engine turned over and over......and over.......and over.............and over. Managed to trace the fault down to a dead fuel pump this time, the list of faults just grows and grows!

Photobucket

A while after this I managed to open up the fuel pump and removed the tiniest pieces of debris that had caused the pump mechanism to completely seize and the engine fired up. There was quite a lot of smoke and it was pretty lumpy but that was to be expected after such a long layup. After running for a while longer the smoke started to die down a bit (although not completely) and the running improved as the injectors started to ease up a bit. the engine is now running pretty well but could still use some new ignition leads to replace the ancient cracked original items.

Interior clean up

So after collecting the car and cleaning up the outside it was time to move to the interior which was full of mould and generally covered in dirt.

After a lot of AutoGlym Interior Shampoo I ended up with this
Photobucket
Photobucket
Photobucket
Photobucket
Photobucket
Photobucket
Photobucket

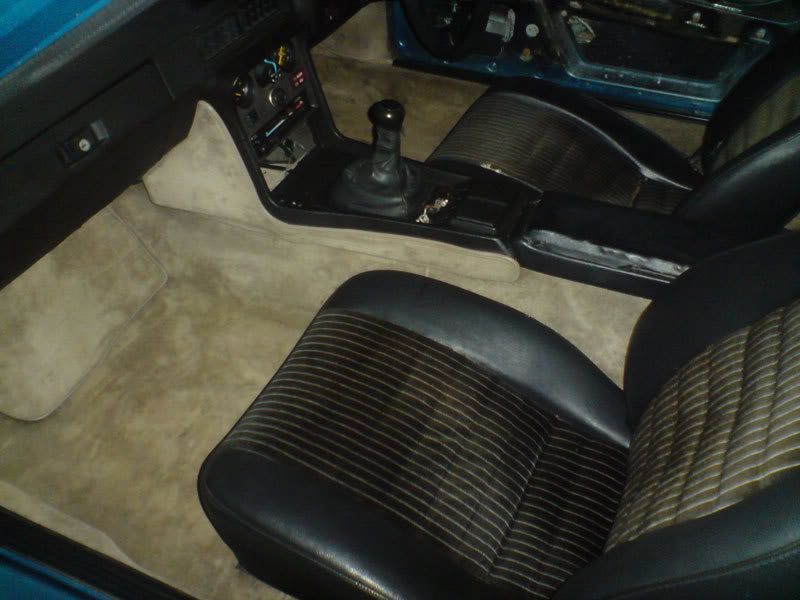
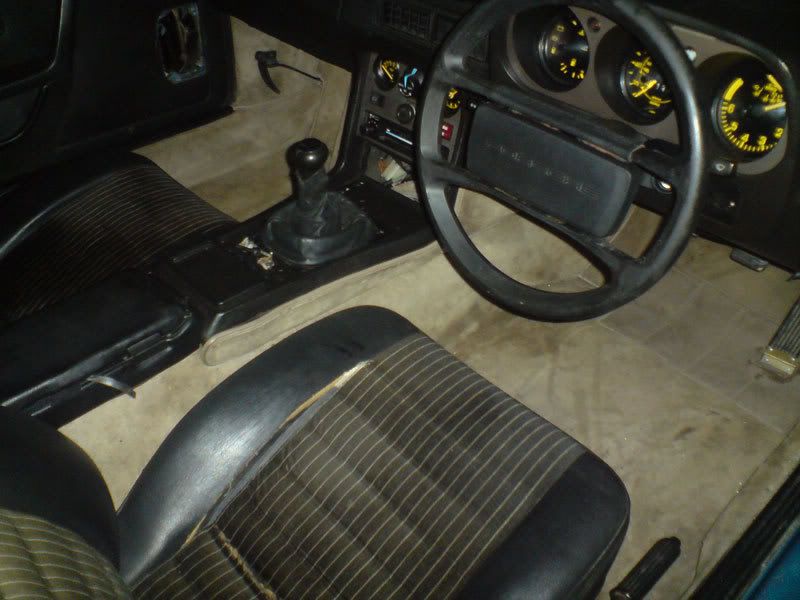
The interior came up fairly well on camera but in reality it was still pretty filthy with the carpet varying wildly between beige and brown to black in places. Despite all this cleaning it really didn't help get rid of the musky smell but it did dull it somewhat.

After making it a bit more bearable to be inside it was time to investigate what worked and what didn't. Here's the list of things that weren't working:

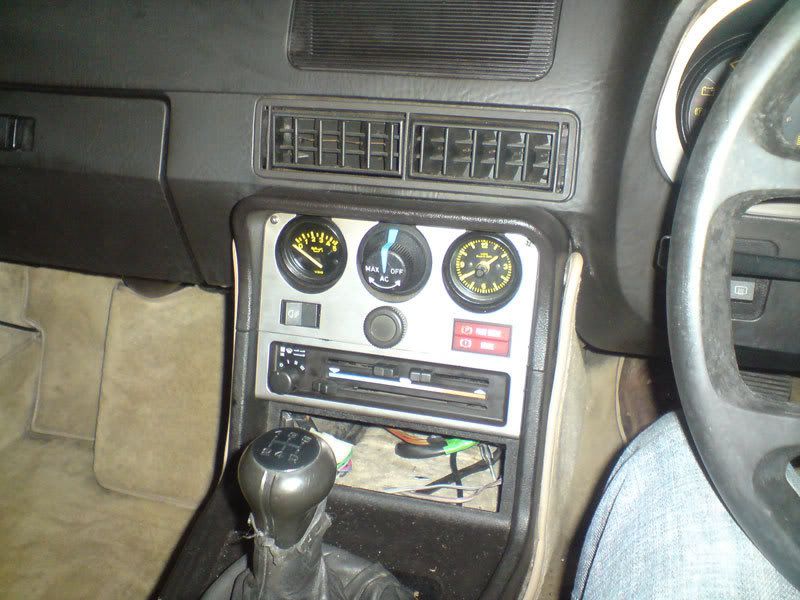
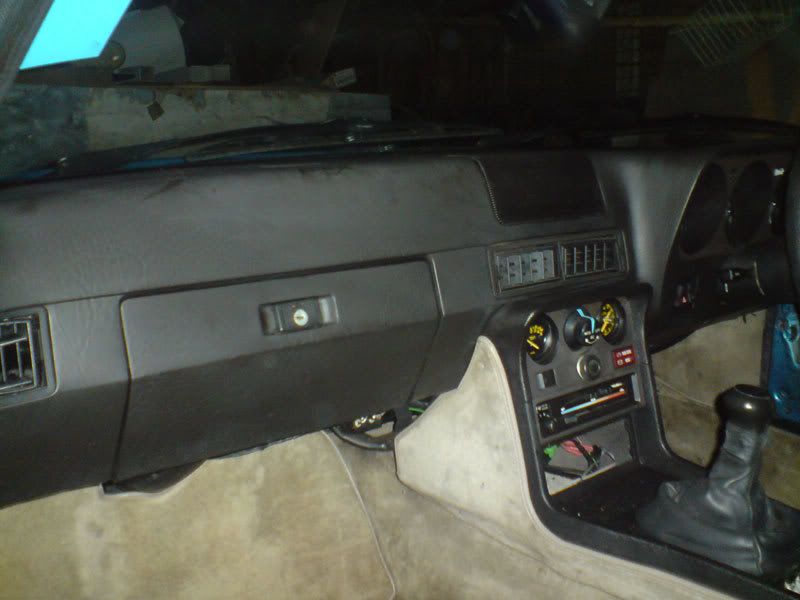
Air con - No, half of the system is completely missing
Heater controls - Only one control was working and the fan was only working on 1&2 after replacing a fuse.
Horn - No
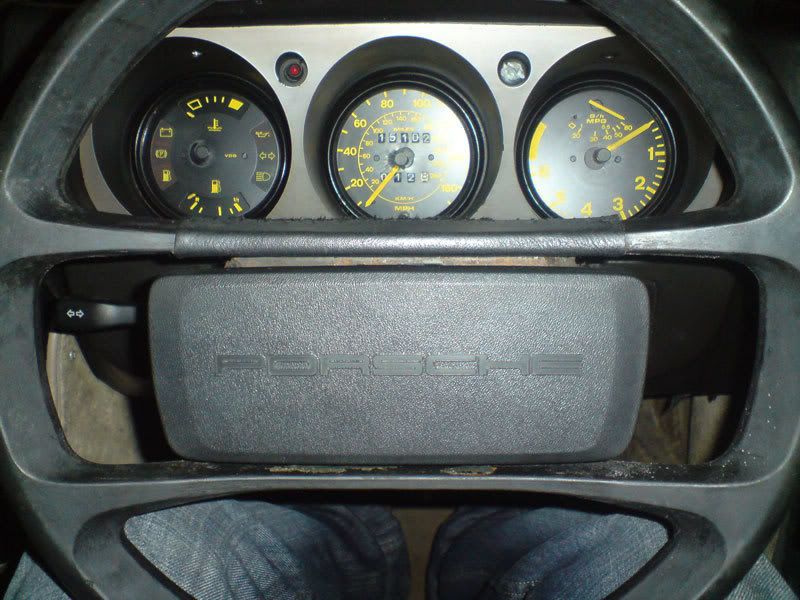
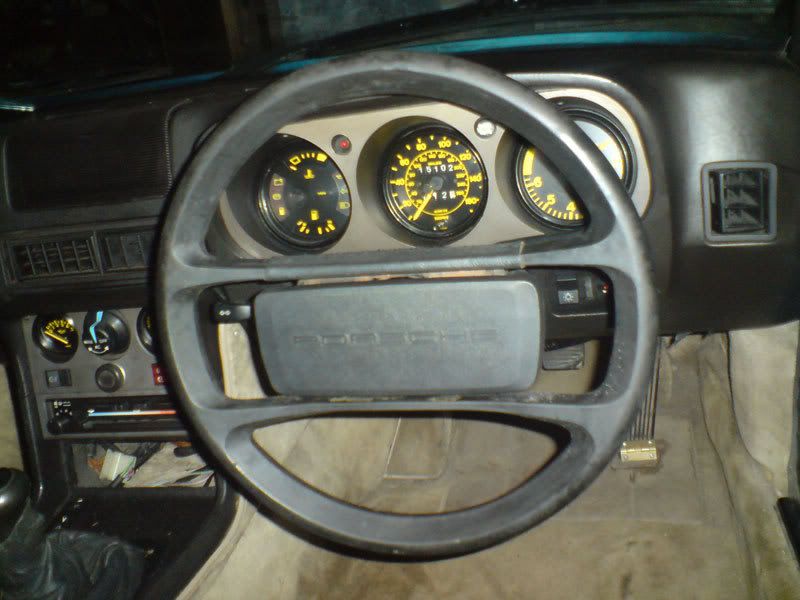
Dash lighting - Sort of
Clock - YES!
Electric windows - Yes for the driver's window and sort of for the passenger side
Electric mirrors - No

I think you get the idea, it was a bit shabby in there. The heater controls were not working due to the clips that hold the cables in place being missing and the part that they clip onto being broken, fan switch was faulty, horn wasn't working due to the wires being wrapped around the connectors instead of using spade connectors, dash lighting just needed new bulbs luckily. Air Con has so much of the system missing and even if it was there it would need a load of money spend on it upgrading to use modern refrigerant that it just wasn't work bothering about.

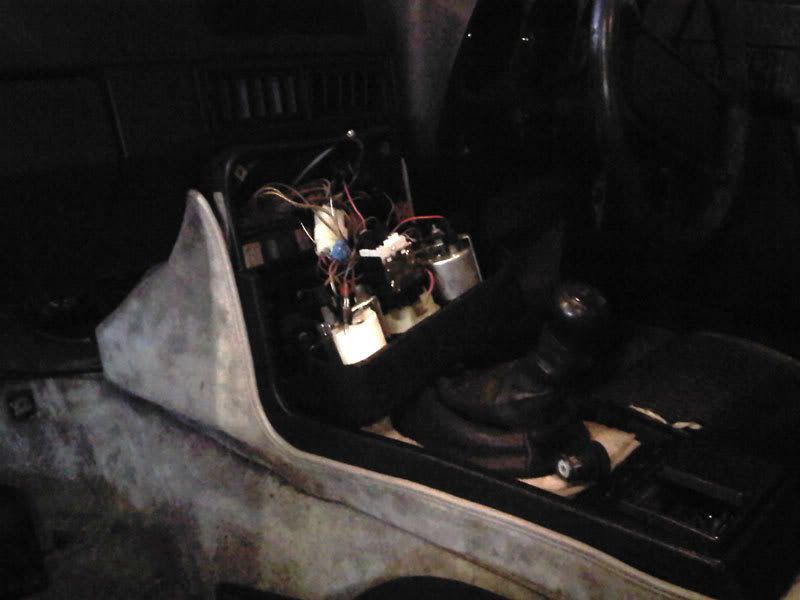
A bit of investigating behind the centre console revealed that half the dials here weren't working due to either not being connected or connected badly. A quick tidy up sorted most things up back here.

Photobucket

Bringing things up to date

Started this blog with the best intentions when I first started this project and then sort of got distracted by the car itself and never really continued it. As it's been so long this post is to fill in the gaps and bring it up to date with the position that the car is currently in.

Firstly when I went to collect the car it was impossible to move due to the brakes being seized. I started off by jacking up the front right corner, removing the pads, retracting the brake piston slightly and making sure the wheel would spin before rebuilding it and ensuring that it still turned. Luckily it turned out that this was the only wheel that was stuck and after inflating the flat tyre the car was finally out in the sunshine again for the first time in -as far as I can tell- 8 years!

So we hitched the car up to my Dad's Shogun and towed it the short distance home (the car was literally just down the road) and giving it a cleanup before inspecting the car more thoroughly.

These first set of pictures are from just getting the car home and before cleaning it

Photobucket
Photobucket
Photobucket

This next set of pictures are after cleaning it for the first time. The quality changes significantly due to the first set being taken on a camera phone and the second set being taken on a proper camera. Not sure why, think I was just too excited about getting the car to get the camera out at first.

Photobucket
Photobucket
Photobucket
Photobucket
Photobucket
Photobucket

First thing to do after cleaning the car up was to remove the awful wiring from the amplifier in the boot. For some reason all the electrical connections for this were only held together with tape and the main power lead was coming from the ignition switch instead of the battery for some reason. This was pulled out because firstly I didn't want the amp in there and secondly it was wired up in such a way it was a bit of a fire risk, same also went for the headunit which was removed and the wires temporarily taped up.

Next up is giving the interior a tidy up.