

 Depending on the condition of your existing shocks you may be able to remove the bolt now. I had to jack up the lower arm by placing a block of wood on the front edge of the lower "cup" and lift it slightly to relieve the pressure.
Next up do the same for the top bolt nut, this is found inside the wheel arch and removing the wheel will make your life easier at this point.
Depending on the condition of your existing shocks you may be able to remove the bolt now. I had to jack up the lower arm by placing a block of wood on the front edge of the lower "cup" and lift it slightly to relieve the pressure.
Next up do the same for the top bolt nut, this is found inside the wheel arch and removing the wheel will make your life easier at this point.
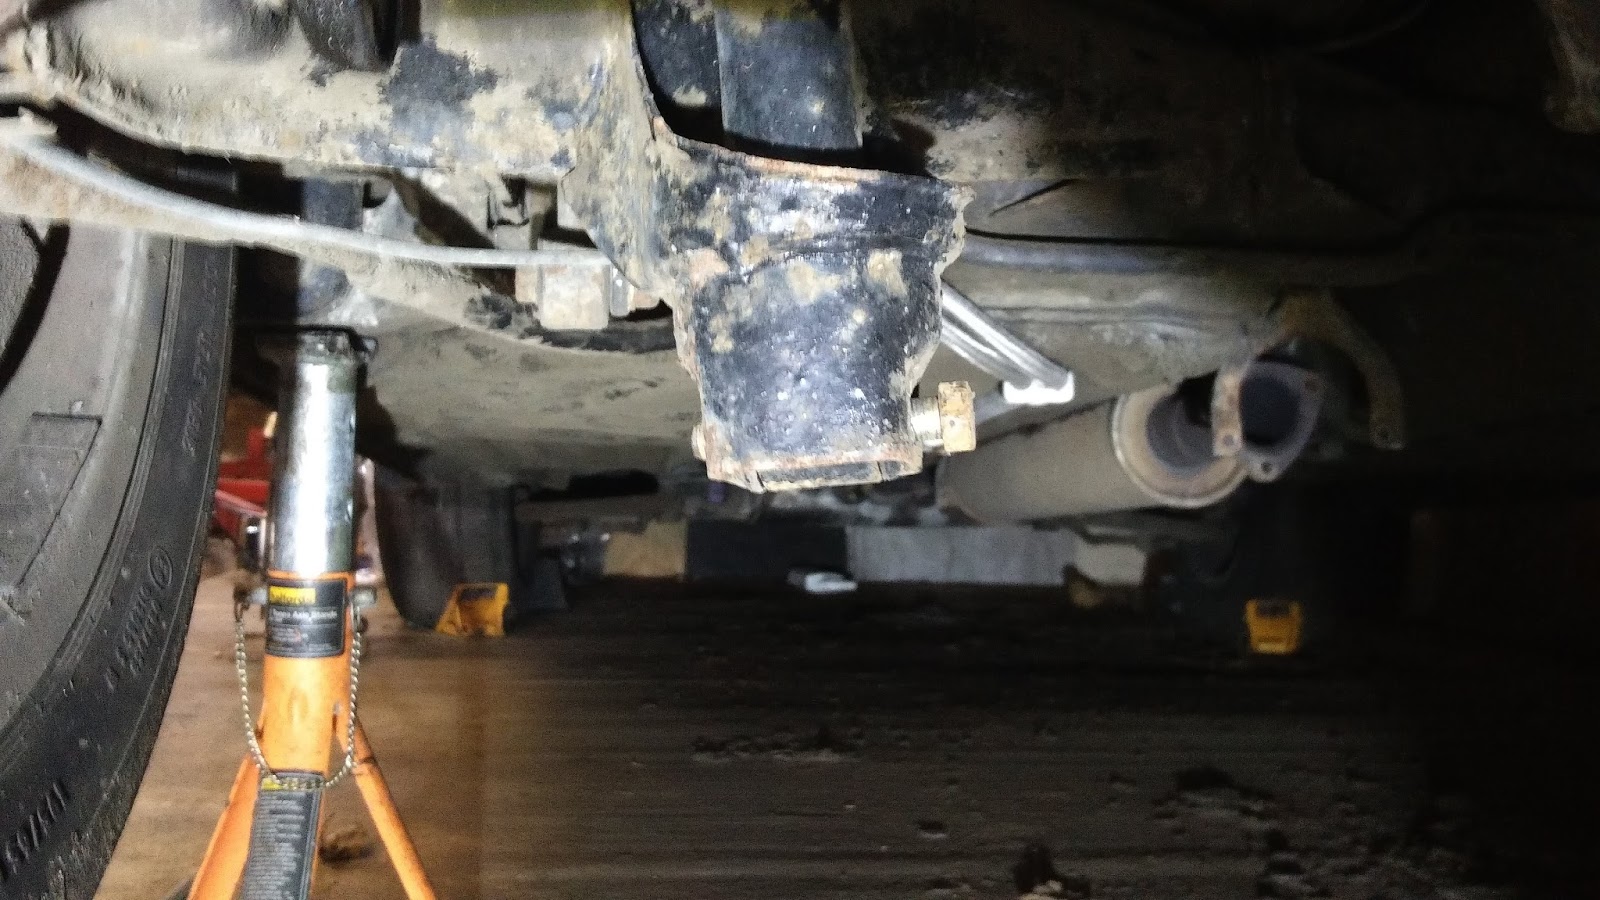
 Remove the top bolt and lower the arm if you had to lift it with a jack and you should be able to wiggle the strut free.
Once out compare the mounting points of the new strut to the old ones. The Spax kit comes with different spacers which will allow you to match the width of the new strut to the old one. I had to switch the lower spacer for the wider ones in order to get things to match up.
Fitting is the reverse of removal as they say. While the arm is lowered get the strut into place and insert the top bolt and nut to keep it suspended. Again lift the arm with a jack and get the holes aligned before inserted the lower bolt and fitting the nut.
You should now have something that looks like this.
Remove the top bolt and lower the arm if you had to lift it with a jack and you should be able to wiggle the strut free.
Once out compare the mounting points of the new strut to the old ones. The Spax kit comes with different spacers which will allow you to match the width of the new strut to the old one. I had to switch the lower spacer for the wider ones in order to get things to match up.
Fitting is the reverse of removal as they say. While the arm is lowered get the strut into place and insert the top bolt and nut to keep it suspended. Again lift the arm with a jack and get the holes aligned before inserted the lower bolt and fitting the nut.
You should now have something that looks like this.

Quite the difference from my old items from 1983.

Now onto the fronts. If you are re-using your existing top mounts it's easier to slacken the top nut whilst it's on the car instead of fighting against a shock on a bench. From memory you'll need a 7mm hex in order to hold the shaft of the shock still. After some hunting I found I had a load of 6mm, and another load of 8mm hex tools but the only 7mm was part of a screwdriver set. I attached this to a small ratchet which did the trick. For the main nut you'll need either a deep socket with an open side to get the tool in or a deep spanner like I used. I got a bit lucky with this and had an old imperial socket that was just the right size.

For this part You only need to loosen the nut a bit to make your life easier later. It's also worth loosening the four nuts that hold the top mount in place which are just 10mm nuts. It's worth using plenty of penetrating fluid at this point, especially if everything is as rusty as on my car. A small but important step is to pull the brake hose free from the bracket on the shock.

Next part is to remove the bolts that attach the strut to the hub. It is important with the top bolt to make sure you turn the nut and not the bolt as they are eccentric and are used to adjust the camber. Loosen the lower bolt first to avoid damage. Again use plenty of penetrating fluid as these are likely rusty and pretty stubborn to remove. I had to remove the brake caliper in order to get decent access to the nuts.

Once the bolts are removed you can remove the four bolts holding the top mount to the chassis. Hold onto the strut as you do this to avoid it from dropping down and causing damage. Next you'll need some spring compressors to compress the spring and allow you to remove the nut attaching the top mount to the shock absorber.

Once you have the top mount removed you can prepare to mount it onto your new coilovers. It is important to get everything in the correct order which should be listed in the instructions. With my kit the order is, helper spring added first, then the rubber plate, then the main spring, then the top plate, then the "washer", then the Porsche top mount goes on top. It's easiest to lower the spring to its lowest position at this point as you will need to push down on the top mount enough to get the new nut threaded onto the shaft of the new shock. Once threadead on enough there is a standard hex on the top of this strut that will allow you to use a socket or spanner to hold the shaft in place while you tighten up the nut. Once tightened down you are ready to refit! Again refitting is pretty much the reverse. Start with sliding the top mount up into the bodywork and attaching the four nuts. Returning back to the base of the strut you can then slide the hub back into the slot and add the lower bolt, then add the top eccentric bolt which gives the camber adjustment. Tighten everything down and make your best judgement on the camber setting, it's going to be out and you'll need to get the camber checked afterwards so just enough to get the car to get checked out. You should now have something like this


Tweak the height until you have something you are happy with and once the camber is checked you can start tweaking the damping to suit your needs. Hopefully this guide is helpful and enjoy your new suspension!